Unity Editor, Foldout 적용하기
Unity에서는 개발의 효율을 높일 수 있도록 에디터를 커스터마이징 할 수 있다.
기본적으로 Editor, EditorWindow 클래스를 상속받아 커스터마이징 할 수 있다.
이번 포스트는 Editor 클래스를 사용해 GameObject의 색을 바꾸는 예제이다.
1. Result
a. Foldout Visual
Unity Engine에 Project Manager 에디터 창처럼 깔끔한 Layout을 구성했다. Foldout을 적용한 모습이다.

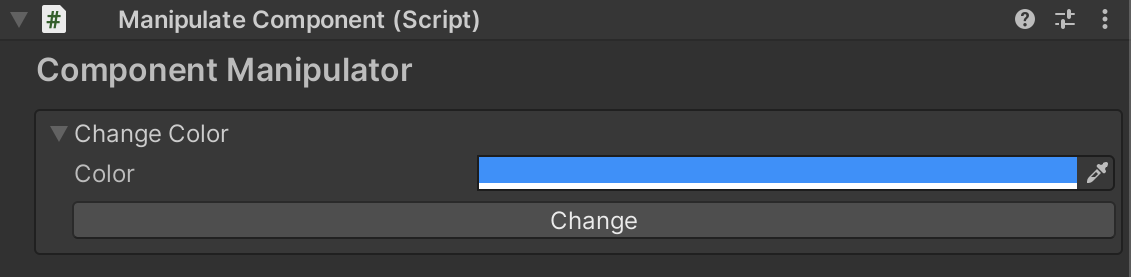
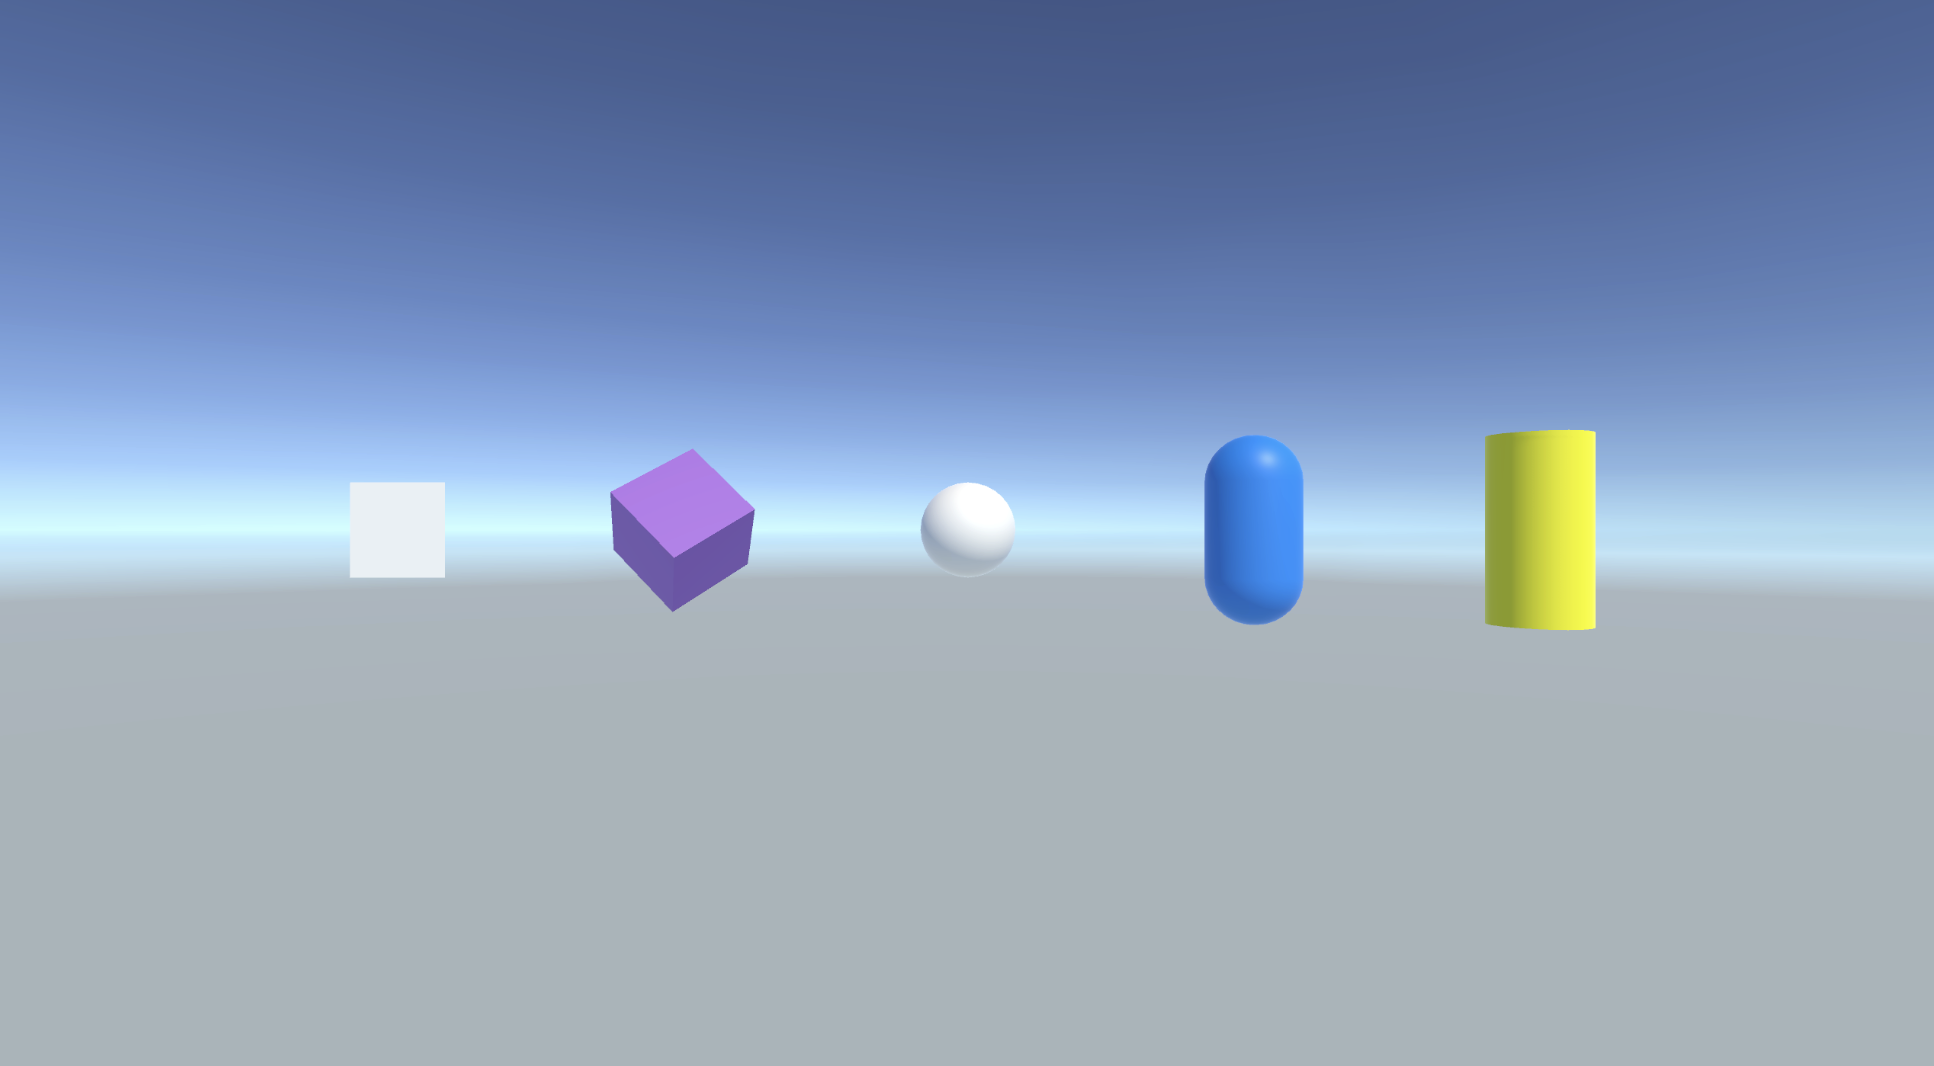
오브젝트를 선택하고 Change버튼을 누르면 선택한 색으로 바뀐다.
b. Full Code
ManipulateComponentEditor.cs
using UnityEditor;
using UnityEngine;

[CustomEditor(typeof(ManipulateComponent))]
[CanEditMultipleObjects]
public class ColorChangerEditor : Editor
{
    #region Private Field
    private ManipulateComponent manipulator = null;

    private bool changeColorFoldout = false;
    private bool colorChangePressed = false;
    #endregion

    private void OnEnable()
    {
        manipulator = (ManipulateComponent)target;
    }

    public override void OnInspectorGUI()
    {
        InitGUIStyles();

        GUILayout.Label("Component Manipulator", titleStyle);
        EditorGUILayout.Space();

        #region Change Color
        EditorGUI.indentLevel++;
        EditorGUILayout.BeginVertical(GUI.skin.GetStyle("HelpBox"));
        {
            changeColorFoldout = EditorGUILayout.Foldout(changeColorFoldout, "Change Color");
            if (changeColorFoldout)
            {
                manipulator.GetSelectedColor = EditorGUILayout.ColorField("Color", manipulator.GetSelectedColor);
                EditorGUILayout.Space(1);

                GUILayout.BeginHorizontal();
                {
                    GUILayout.Space(15);
                    EditorGUILayout.BeginVertical();
                    {
                        if (Selection.count > 1) GUI.enabled = false;
                        colorChangePressed = GUILayout.Button("Change");
                        if (colorChangePressed)
                        {
                            ChangeColor(ref manipulator);
                        }
                        GUI.enabled = true;
                    }
                    EditorGUILayout.EndVertical();
                }
                GUILayout.EndHorizontal();
                EditorGUILayout.Space(3);
            }
        }
        EditorGUILayout.EndVertical();
        EditorGUILayout.Space(6);
        EditorGUI.indentLevel--;
        #endregion
    }

    #region Manipulate Functions
    /// <summary>
    /// Change color of the GameObject selected.
    /// </summary>
    private void ChangeColor(ref ManipulateComponent manipulator)
    {
        var propertyBlock = new MaterialPropertyBlock(); // create one and reuse it.
        propertyBlock.SetColor("_BaseColor", manipulator.GetSelectedColor);

        if (manipulator.GetRenderer == null)
            manipulator.GetRenderer = manipulator.GetComponent<Renderer>();

        manipulator.GetRenderer.SetPropertyBlock(propertyBlock);
        SceneView.RepaintAll();
    }
    #endregion

    #region GUI Styles
    private GUIStyle titleStyle = null;

    private bool isGUIInitialized = false;
    #endregion

    #region GUI Initialize
    private void InitGUIStyles()
    {
        if (isGUIInitialized) return;

        titleStyle = new GUIStyle(EditorStyles.label);
        titleStyle.fontSize = 16;
        titleStyle.fontStyle = FontStyle.Bold;
        titleStyle.wordWrap = true;

        isGUIInitialized = true;
    }
    #endregion
}
ManipulateComponent.cs
public class ManipulateComponent : MonoBehaviour
{
    public Renderer GetRenderer { get; set; }
    public Color GetSelectedColor { get; set; }
}
2. Explanation
a. Target 받아오기
커스텀 에디터에서 설정한 타겟을 조작하기 위해선 target이나 targets를 통해 객체를 받아와 사용할 수 있다.
ManipulateComponentEditor.cs
private void OnEnable()
{
    manipulator = (ManipulateComponent)target;
}
b. Target 사용하기
기본적으로 EditorGUILayout이나 GUILayout를 사용해 필드를 만들고 사용한다.
ManipulateComponentEditor.cs
public override void OnInspectorGUI()
{
    manipulator.GetSelectedColor =
      EditorGUILayout.ColorField("Color", manipulator.GetSelectedColor);
    EditorGUILayout.Space(1);
}
c. 버튼 추가하기
버튼은 bool 값을 반환한다. 버튼을 눌렀을때 기능을 true일 때 실행되게 넣엏주면 된다.
ManipulateComponent.cs
public override void OnInspectorGUI()
{
    colorChangePressed = GUILayout.Button("Change");
    if (colorChangePressed)
    {
        ChangeColor(ref manipulator);
    }
}
d. 영역 주기
GUI skin을 통해 시각적으로 영역을 줄 수 있다. Style에는 Unity에서 제공하는 기본적인 스타일이 몇가지 있다.
public override void OnInspectorGUI()
{
    ...

    EditorGUI.indentLevel++;
    EditorGUILayout.BeginVertical(GUI.skin.GetStyle("HelpBox"));
    {
        ...
    }
    EditorGUILayout.EndVertical();

    ...
}
e. GUI 비활성화
타겟 오브젝트를 여러개를 선택했을 때 버튼을 누르지 못하게 조건을 줄 수 있다.
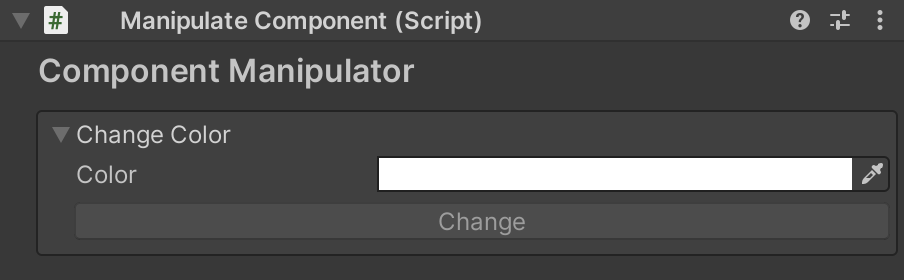
버튼이 비활성화 된것을 확인할 수 있다.
public override void OnInspectorGUI()
{
    ...

    if (Selection.count > 1) GUI.enabled = false;
    colorChangePressed = GUILayout.Button("Change");
    if (colorChangePressed)
    {
        ChangeColor(ref manipulator);
    }
    GUI.enabled = true;

    ...
}
GUI.enabled = false;와 GUI.enabled = true;사이에 버튼을 넣어주면 된다.