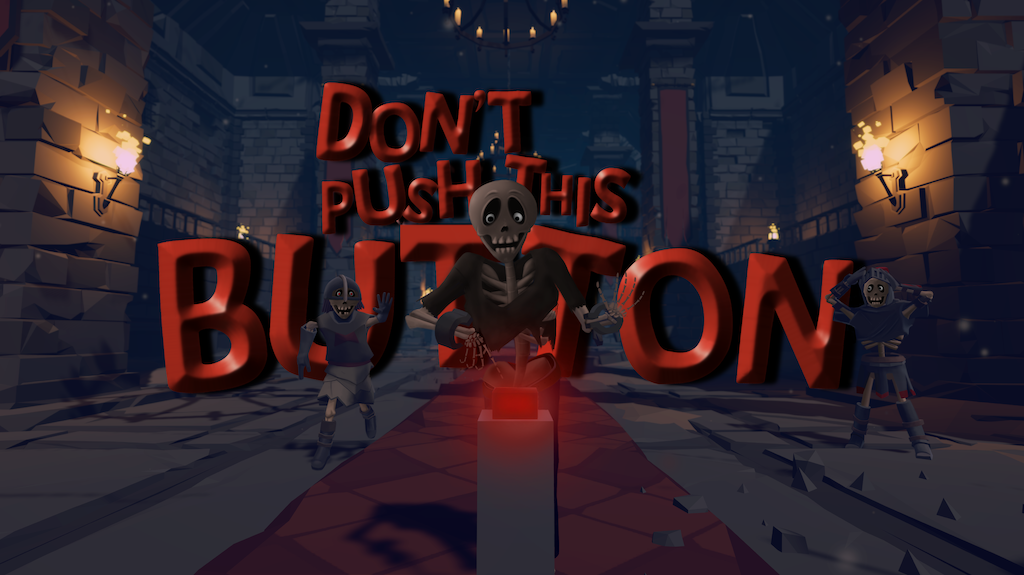
Don't Push This Button ☠️
팀명: Half-Light
팀원: 김현우, 박근영
개발 환경: Unity 2020.1 URP, Visual Studio, GitLab
제작 기간: 2020.05.01 ~ 2020.08.03 (미완성)
YouTube: Don’t Push This Button Devlogs
Index
1. 프로젝트 소개
2. 프로젝트 구현
프로젝트 소개
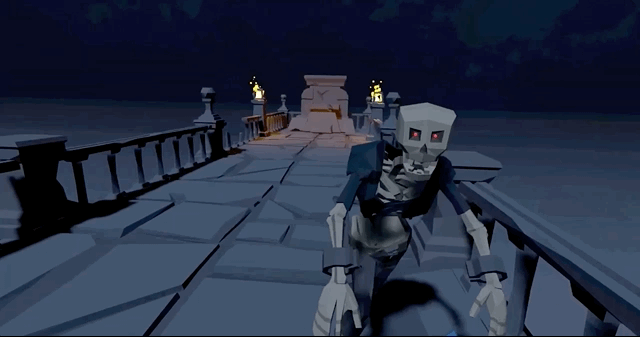
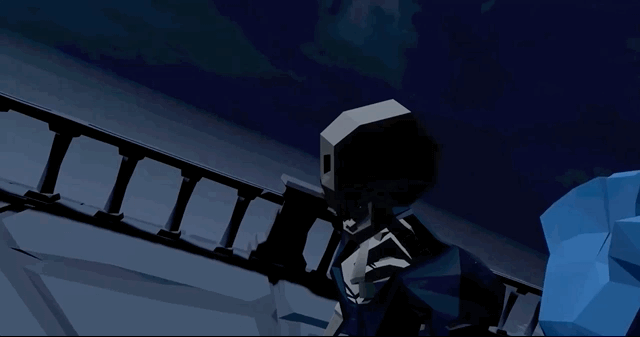
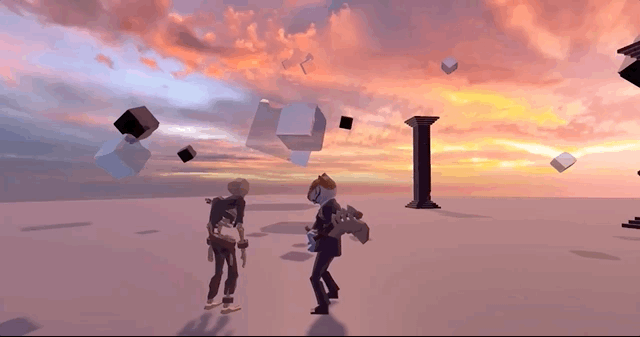
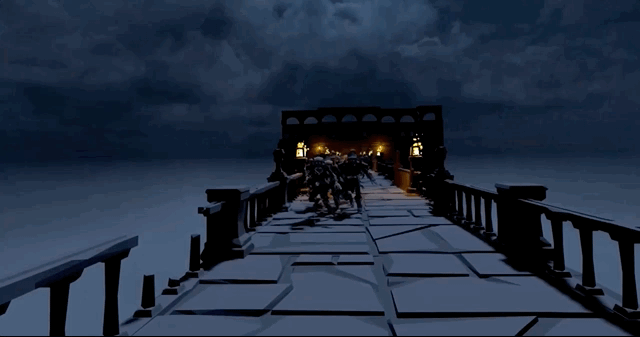
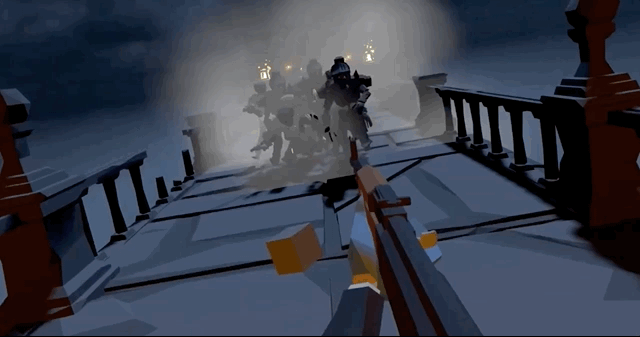
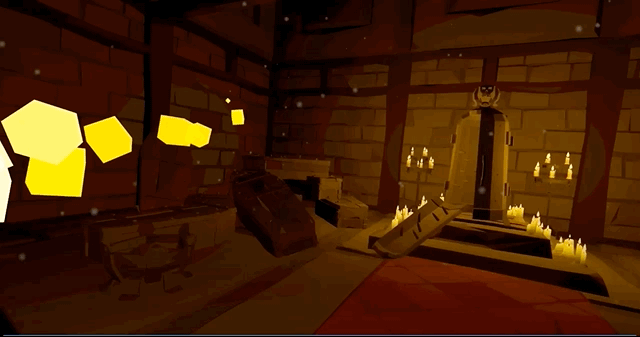
Don't Push This Button은 VR 전략 액션 게임이다. 최대한 빠른 시간 안에 맵 어딘가에 위치한 버튼을 찾아 눌르면 스테이지를 클리어하게 된다. 난이도가 올라갈 수록 맵에 존재하는 무기의 사용 횟수가 줄어들고 적군 또한 늘어나기 때문에 제한된 자원을 현명하게 사용하는 것이 중요하다.
목표
첫 VR 게임을 개발하면서 몰입의 중요성을 알게 되었다. 몰입 경험은 사용자가 마치 그 가상공간안에 들어가 있는 듯한 느낌을 주는 것으로 크게 Sound, Visual, Interaction 3가지 요소로 나뉠 수 있다고 생각한다. 그 중 Interaction 에 많은 시간을 투자하였다. PC 게임과는 다른 VR의 장점을 극대화하고 사용자 경험의 질을 높이는 데 집중했다.
팀 소개 및 개발 일정
: 팀 소개

 |  |
|---|---|
| 김현우 | 박근영 |
|
|
: 개발 일정
프로젝트 구현
1. Animation Based Enemy

처음 적을 만들 때는 애니메이션으로 움직임을 주었다. 애니메이션으로 움직이는 적은 동작 하나하나에 디테일을 살릴 수 있다는 장점이 있다. 하지만 플레이어와의 모든 인터렉션을 애니메이션으로 커버하기에는 한계가 있었다.
a. Animation Controller
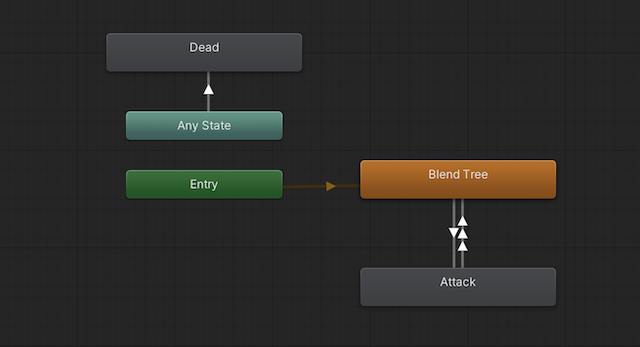 | 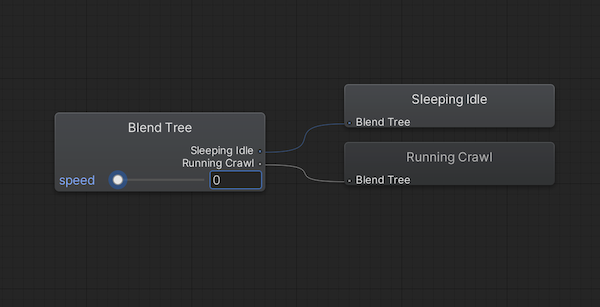 |
애니메이션 상태는 Idle, Crawl, Attack, Dead 4가지가 있다. 그 중 Idle과 Crawl는 BlendTree를 이용해 자연스럽게 연결했다.
b. Structure
: class diagram
클래스 다이어그램을 보면 적은 Move와 Combat이라는 action 클래스를 가지고 있고 둘 다 IAction이라는 인터페이스의 Cancel() 함수를 재정의한다. 재정의된 Cancel()은 새로운 action이 실행될 때 ActionScheduler가 현재 action의 Cancel()을 호출한다.
c. Move
적의 이동은 Root Motion 과 Navmesh Agent를 같이 사용하였다. Root Motion을 사용하면 적의 움직임을 애니메이션이 제어하기 때문에 Navmesh Agent의 .nextPosition을 업데이트 해줘야 된다.
Move.cs
void OnAnimatorMove()
{
    Vector3 position = animator.rootPosition;
    position.y = navMeshAgent.nextPosition.y;
    transform.position = position;
}
OnAnimatorMove() 콜백함수에서 포지션 y를 업데이트한다.
void OnAnimatorMove()
private void RootMotionFollow()
{
    Vector3 worldDeltaPosition = navMeshAgent.nextPosition
        - transform.position;
    if (worldDeltaPosition.magnitude > navMeshAgent.radius)
    {
        navMeshAgent.nextPosition = transform.position
            + 0.9f * worldDeltaPosition;
    }
}
d. Attack
적은 주먹을 날리는 애니메이션으로 플레이어를 공격한다. 플레이어가 체력이 깍이는 타이밍을 맞추기 위해 주먹을 날리는 애니메이션에 이벤트 함수를 심어 넣었다.
Combat.cs
void OnAnimatorMove()
private void TriggerAttack()
{
    /* Face the target direction */
    transform.LookAt(target.transform.position);
    /* Attack only when time since last attack
    is greater than given time. */
    if (timeSinceLastAttack > timeBetweenAtacts)
    {
        animator.ResetTrigger("cancel");
        /* This will trigger the OnAnimatorHit() event. */
        animator.SetTrigger("attack");
        timeSinceLastAttack = 0;
    }
}
void AnimationHit()
{
if (target == null) return;
target.TakeDamage(damage);
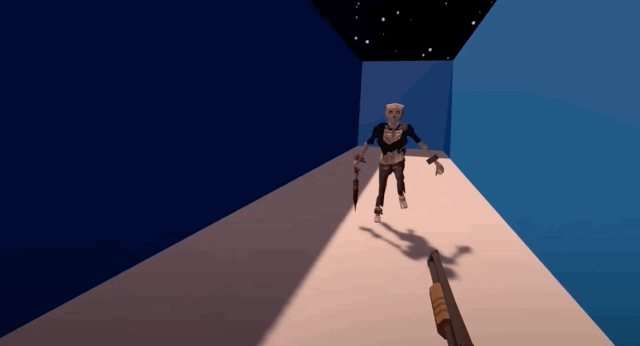
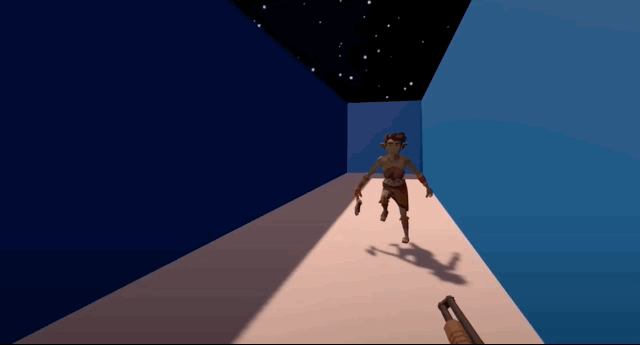
}2. Ragdoll Based Enemy
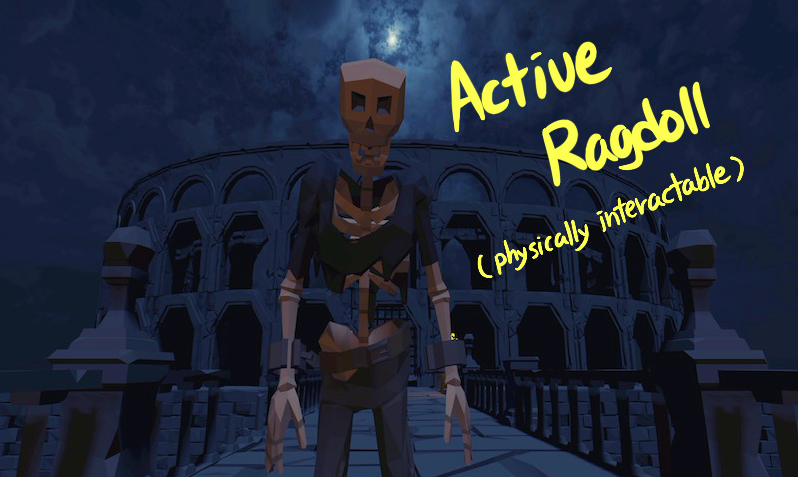
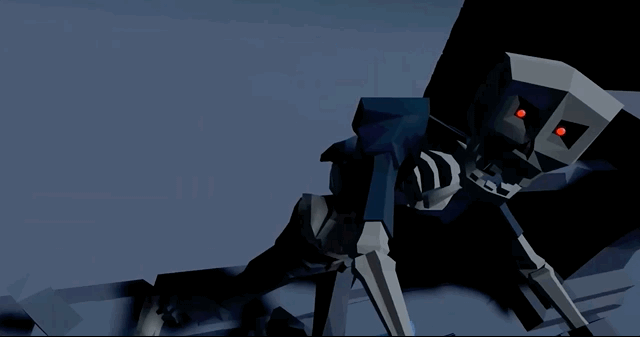
애니메이션을 기반으로 한 적은 물리 인터렉션이 불가능했다. VR에서는 특히 플레이어가 손을 움직이고 만질 수 있어서 애니메이션으로 미리 짜인 움직임만 하는 적은 몰입도를 떨어트렸다.
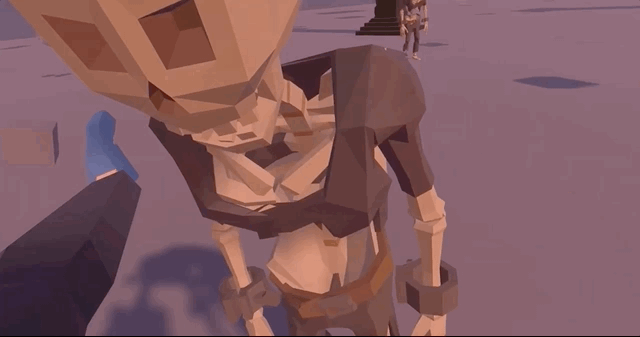
반면에 Active Ragdoll은 물리 인터렉션이 가능해서 플레이어가 적을 밀치거나 넘어트리는 게 가능했고 더 자연스러운 인터렉션이 몰입도를 높일 수 있었다.
a. Structure
기본적인 Active Ragdoll의 상태는 4가지가 있다; FellDown, OutOfBalance, InBalance, InAir. 여기에 추가적으로 Enemy의 상태 4가지가 추가된다; Dead, Combat, Guard, Idle.
b. Self Balance
YouTube Link : Devlog #2
reddit Link : Self Balance Prototype
reddit Link : Active Ragdoll in VR Prototype
Self Balance는 hip에 있는 Configurable Joint에 의해 많은 부분 해결된다. Joint의 Angular Drive를 강하게 하고 Z축 로테이션을 잠그면 Ragdoll은 넘어지지 않는다.
하지만 플레이어의 재미를 위해 Ragdoll은 넘어져야 한다. 자연스럽게 넘어지려면 Ragdoll의 Center of Mass(CoM)이 양발의 중심점에서 벗어나기 시작하면 다리를 움직여 균형을 잡게 하고 많이 벗어났을때 Ragdoll의 모든 Joint의 힘을 풀어주면 넘어지게 된다.
ActiveRagdoll.cs
private void CalculateCoM()
{
    Vector3 com = Vector3.zero; /* Center of mass */
    float sum = 0; /* Sum of mass. */

    foreach (Rigidbody rb in _rigidbodies)
    {
        com += rb.worldCenterOfMass * rb.mass;
        sum += rb.mass;
    }
    com /= sum;
    _CoM.position = com;

    Vector3 tartgetRot = Vector3.Scale(-_joints.Head.transform.forward,
        _flatUnitVec);
    _CoM.rotation = Quaternion.LookRotation(tartgetRot);
}
private void CalculateCenterPoint()
{
Vector3[] _feetPos = new Vector3[2];
_feetPos[0] = _joints.Foot_L.transform.position;
_feetPos[1] = _joints.Foot_R.transform.position;
Vector3 sum = Vector3.zero;
if \(\_feetPos == null \|| \_feetPos.Length == 0)
_feetCenterPoint.position = sum;
foreach (Vector3 vec in _feetPos)
sum += vec;
_feetCenterPoint.position = sum / _feetPos.Length;
}CoM과 FeetCenterPoint는 매프레임 업데이트된다.
private void CalculateLeanValue()
{
    Vector3 cpFlat = Vector3.Scale(_feetCenterPoint.position, _flatUnitVec);
    Vector3 comFlat = Vector3.Scale(_CoM.position, _flatUnitVec);
    _leanDirFlat = (comFlat - cpFlat).normalized;
    _outOfBalanceValue = Vector3.Distance(comFlat, cpFlat);
}
매프레임 업데이트되는 _CoM.position과 _feetCenterPoint.position값의 Y값을 0으로 만들고 그 값으로 방향과 거리를 구한다.
private void CheckBalanceState()
{
    float dst = Mathf.Abs(_CoM.position.y - _feetCenterPoint.position.y);

    if (_CoM.position.y > _inAirThreshold)
        ragdollState = BalanceState.InAir;

    else if (dst < _fallDownThreshold)
        ragdollState = BalanceState.FellDown;

    else if (_outOfBalanceValue > _outOfBalanceThreshold)
        ragdollState = BalanceState.OutOfBalance;

    else
        ragdollState = BalanceState.InBalance;
}
Ragdoll의 기본 4가지 상태는 우선순위가 있어 그 순서대로 상태를 결정짓게 된다. _outOfBalanceValue 값은 설정된 _outOfBalanceThreshold값과 비교되고 설정된 값보다 크면 Ragdoll은 균형을 잃고 있다는 것을 의미한다.
private void CheckLeaningState()
{
    float forward = Vector3.Dot(_CoM.forward, _leanDirFlat);
    float backward = Vector3.Dot(-_CoM.forward, _leanDirFlat);
    float right = Vector3.Dot(_CoM.right, _leanDirFlat);
    float left = Vector3.Dot(-_CoM.right, _leanDirFlat);

    if (forward > _leanThreshold)
        leaningDirection = LeaningDirection.Forward;

    else if (backward > _leanThreshold)
        leaningDirection = LeaningDirection.Backward;

    else if (right > _leanThreshold)
        leaningDirection = LeaningDirection.Right;

    else if (left > _leanThreshold)
        leaningDirection = LeaningDirection.Left;

    else
        leaningDirection = LeaningDirection.NoDir;
}
넘어지는 방향은 CoM을 기준으로 한다. 넘어지는 방향은 4가지만 파악하고 Dot Product를 통해 그 값을 구한다.
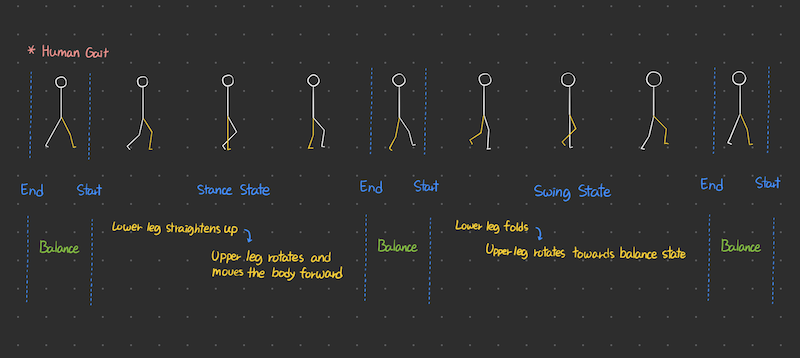
Ragdoll의 다리 움직임 상태는 Swing State, Stance State로 나뉜다. 활성화된 다리가 Swing State이다.
BalanceMovement.cs
#region Legs
/// <summary>
/// 넘어지는 방향에 따라 그에 맞는 다리 움직임을 실행
/// </summary>
public void BalanceLegMovement(LeaningDirection leaningDir)
{
    switch (leaningDir)
    {
        case LeaningDirection.Forward:
            if (!_lastActiveLeg.Equals(ActiveLeg))
            {
                _lastActiveLeg = ActiveLeg;
                _activeLegCoroutine = StartCoroutine(
                RotateLegJoints(_swing, _stance, _balanceForwardRots));
            }
            break;
다리 움직임은 이전에 활성화된 다리가 현재 활성화된 다리와 달라야지 움직인다.
private IEnumerator RotateLegJoints(Swing swing, Stance stance, LegTargetRotations tr)
{
    float startElapsedTime = 0f;

    swing.Foot.GetComponent<Collider>().material = _slide;
    stance.Foot.GetComponent<Collider>().material = _rough;

    while (startElapsedTime < tr.StartPhaseDuration)
    {
        startElapsedTime += Time.fixedDeltaTime;
        float startPhasePerc = startElapsedTime / tr.StartPhaseDuration;

        swing.Upper.targetRotation = Quaternion.Lerp(swing.Upper.targetRotation,
            tr.SwingUpStart, _startPhaseAC.Evaluate(startPhasePerc));

        swing.Lower.targetRotation = Quaternion.Lerp(swing.Lower.targetRotation,
            tr.SwingLowStart, _startPhaseAC.Evaluate(startPhasePerc));

        swing.Foot.targetRotation = Quaternion.Lerp(swing.Foot.targetRotation,
            tr.SwingFootStart, _startPhaseAC.Evaluate(startPhasePerc));

        stance.Upper.targetRotation = Quaternion.Lerp(stance.Upper.targetRotation,
            tr.StanceUpStart, _startPhaseAC.Evaluate(startPhasePerc));

        stance.Lower.targetRotation = Quaternion.Lerp(stance.Lower.targetRotation,
            tr.StanceLowStart, _startPhaseAC.Evaluate(startPhasePerc));

        stance.Foot.targetRotation = Quaternion.Lerp(stance.Foot.targetRotation,
            tr.StanceFootStart, _startPhaseAC.Evaluate(startPhasePerc));
        yield return null;
    }

    float endElapsedTime = 0f;
    swing.Foot.GetComponent<Collider>().material = _rough;
    stance.Foot.GetComponent<Collider>().material = _slide;

    while (endElapsedTime < tr.EndPhaseDuration)
    {
        endElapsedTime += Time.fixedDeltaTime;
        float endPhasePerc = endElapsedTime / tr.EndPhaseDuration;

        swing.Upper.targetRotation = Quaternion.Lerp(swing.Upper.targetRotation,
            tr.SwingUpEnd, _endPhaseAC.Evaluate(endPhasePerc));

        swing.Lower.targetRotation = Quaternion.Lerp(swing.Lower.targetRotation,
            tr.SwingLowEnd, _endPhaseAC.Evaluate(endPhasePerc));

        swing.Foot.targetRotation = Quaternion.Lerp(swing.Foot.targetRotation,
            tr.SwingFootEnd, _endPhaseAC.Evaluate(endPhasePerc));

        stance.Upper.targetRotation = Quaternion.Lerp(stance.Upper.targetRotation,
            tr.StanceUpEnd, _endPhaseAC.Evaluate(endPhasePerc));

        stance.Lower.targetRotation = Quaternion.Lerp(stance.Lower.targetRotation,
            tr.StanceLowEnd, _endPhaseAC.Evaluate(endPhasePerc));

        stance.Foot.targetRotation = Quaternion.Lerp(stance.Foot.targetRotation,
            tr.StanceFootEnd, _endPhaseAC.Evaluate(endPhasePerc));
        yield return null;
    }

    ActiveLeg = ActiveLeg.Equals(ActiveLeg.Left) ?
        ActiveLeg.Right : ActiveLeg.Left;

    SetSwingStance();
}
Swing State에서는 다리가 올라갔다 내려가야 하는 동작을 취해야한다. 올라가기 전 PhysicsMaterial을 미끄러운 값으로 바꾼다. 움직일 때 발이 걸려 넘어지는 문제를 막아준다. 다리의 움직임은 줄 때는 Joint의 TargetRotation 값을 타겟 값까지 Lerp한다.
Ragdoll의 다른 움직임도 마찬가지로 .targetRotation의 값을 바꿔주는 것으로 동작한다.
c. Get Up
YouTube Link : Devlog #3
Ragdoll은 넘어지고 다시 일어날때 Joint의 힘을 다시 강하게 하고 AngularXZMotion에 락을 줘서 hip의 균형을 잡는다.
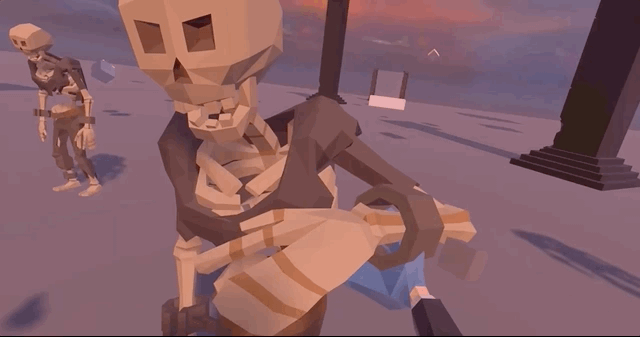
d. Attack
 |  |
YouTube Link : Devlog #4
무기를 이용한 공격 클래스는 ICombat의 Attack() 함수를 재정의한다.
공격 움직임도 준비 자세와 공격 자세로 나뉜다. 준비 자세에서 목표물까지의 방향을 구하고 공격하게 된다.
e. Look At
Ragdoll은 View Angle이 있다. 플레이어가 시야에 들어와야지만 플레이어를 쫓기 시작한다.
ActiveRagdoll.cs
private bool PlayerInViewAngle()
{
    float cosAngle = Vector3.Dot(headToTargetDir,
        setup.cJoints.Head.transform.forward);
    float angle = Mathf.Acos(cosAngle) * Mathf.Rad2Deg;

    return angle < AngleCutOff;
}
Dot Product를 이용해 머리의 forward와 타겟을 바라보는 방향의 각도를 구한다. 그 값을 이용해 시야의 범위를 정한다.
f. Interactions

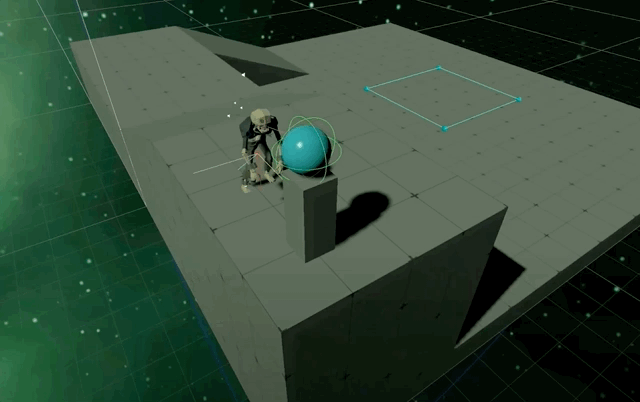
3. Patrol System
point를 이용한 간단한 Patrol System이다. 빈오브젝트로 point를 배치하고 인스펙터에서 모드를 선택할 수 있다.
a. Linear
PathController.cs
if (SelectedPath.Equals(PathType.Linear))
{
    for (int i = 0; i < transform.childCount; i++)
    {
        if (i == transform.childCount - 1)
        {
            Gizmos.DrawSphere(GetGuardPoint(i), 0.1f);
            break;
        }
        Gizmos.DrawSphere(GetGuardPoint(i), 0.1f);
        Gizmos.DrawLine(GetGuardPoint(i), GetGuardPoint(i + 1));
    }
}
public int GetNextLinearIndex(int i)
{
if (i + 1 == transform.childCount) { linearIndexAdder = -1; }
if (i == 0) { linearIndexAdder = 1; }
return i + linearIndexAdder;
}b. Loop
PathController.cs
Gizmos.color = Color.cyan;
if (SelectedPath.Equals(PathType.Loop))
{
    for (int i = 0; i < transform.childCount; i++)
    {
        int j = GetNextLoopIndex(i);
        Gizmos.DrawSphere(GetGuardPoint(i), 0.1f);
        Gizmos.DrawLine(GetGuardPoint(i), GetGuardPoint(j));
    }
}
public int GetNextLoopIndex(int i)
{
if (i + 1 == transform.childCount) { return 0; }
return i + 1;
}4. Navigation System
a. Agent
Ragdoll에 Navmesh Agent를 직접 적용할 수 없으므로 Ragdoll이 Agent를 따라가고 Agent가 타겟을 따라가게 한다. 이때 Agent는 일정 거리까지만 움직이게 속도를 제한한다.
PathController.cs
private void MoveAgent(Vector3 destination)
{
    navMeshAgent.destination = destination;
    navMeshAgent.isStopped = false;

    var dst = (navMeshAgent.transform.position
        - ragdoll.CoM.transform.position).sqrMagnitude;
    navMeshAgent.speed = ((maxDistance - dst) / maxDistance) * maxSpeed;
}
5. Interactive Environment
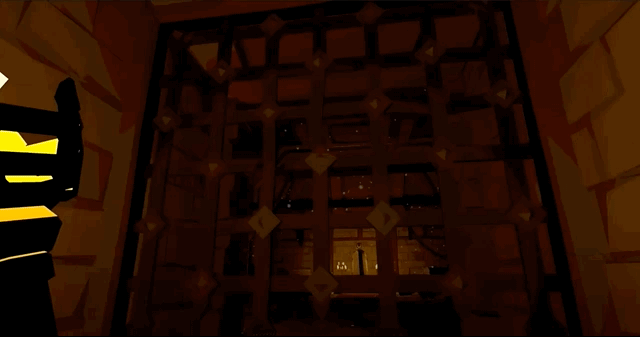
a. Gate
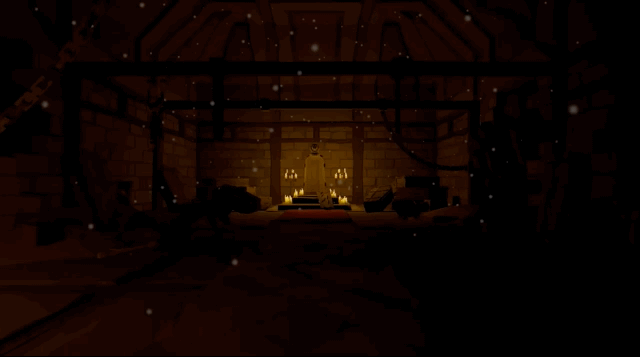
b. Coffin
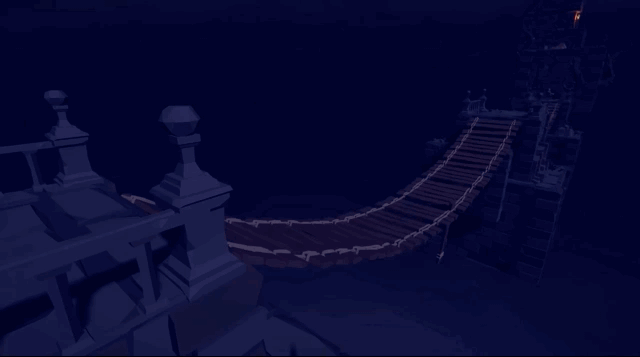
c. Bridge